Focus Stacking
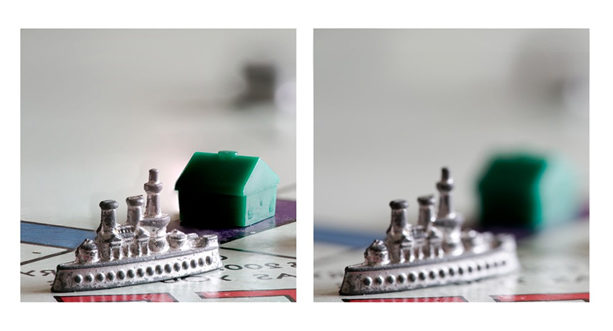
Focus stacking is a process associated with maximising depth-of-field (not exposure) in taking macro images but the technique can be used on other subjects such as landscapes.
Tips for successful landscapes are that you should use a small aperture and focus on a point one third of the way into the scene. This makes the most use of the depth of field either side of the focal point. This will yield an image that is sharp in most of the important areas and acceptably sharp in others. But what if you want maximum sharpness from 1m to the background?
This process requires taking a number of photos with an adjustment of the focus on each one, not to be confused with High Dynamic Range (HDR) which requires adjustment of the exposure. It takes advantage of using the zone of sharpness of the lens at different settings.
The end product is an image that upon close inspection looks almost impossibly sharp from foreground to infinity, similar to 3D.
There are three stages, the taking of the shots and editing and combining the images back at base.
Stage 1.
Equipment requirements are a camera with a lens which allows manual focus and a tripod. Switch off image stabilisation.
- Set up the camera on the tripod and ensure the lens is set to Manual Focus.
- Select RAW format for the images.
- Select Aperture Priority mode.
- Select a small aperture to suit the best sweet spot performance of your lens, say f11 – f13 on an APC DSLR.
- Select an ISO at the bottom of the range, say 100 or 150.
- Frame your shot and lock down the tripod adjustments.
- Focus your lens on the foreground.
- Check the White Balance.
- Take a test shot and check for correct exposure and if it needs adjustment, then use the camera Exposure Compensation control to correct it and re-test. When perfect, delete the test shots so as not to get confused with them later.
- It’s now time to take a shot but you need to take precautions to avoid any camera shake, even on a tripod. So set the self timer to a 2 seconds delay. Do a final check and take the shot. If you have a remote release capability, then you can use that.
- For the next shots don’t change the exposure. We need to move the lens focus along the scale. As an example, use a small amount say 1m for the first. Then the following distance increases should be higher and so on. Move it 3m for the next one 7m the next and then a final one at Infinity.
You will need to use your own judgement on the number of shots to ensure that focus sharpness overlaps each shot. Here we have used five but six or seven are not uncommon for landscapes.Stage 2. - These notes are directed at Adobe Photoshop CC (and Elements) users who can access Camera RAW as a plugin.
- Using the version of software that you have, open the first RAW file and wait for it to load into Camera RAW automatically.
- Make whatever changes suit you using the appropriate sliders.
- Click on Open Image and your changes will be saved.
- You may then apply the exact same settings from that first image to each subsequent image that you open. To do this, open the next image and select Previous Conversion from the drop down menu in the top right of the control panel.Stage 3
Editing
The individual images now need to be processed and merged together. This can be a complex process which is difficult to cover here. However, there are members with the skills who would no doubt be pleased to help you out or alternatively you can see tutorials on You Tube.Users with Photoshop CC can use Stack and Blending techniques.If you want to go exploring your version of Photoshop Elements, the following will point you in the right direction.Photomerge/Panorama
In Elements, Photomerge has moved around a bit in different versions. Depending upon what version you have you can find it under:
Enhance >>
or
File>>New>>Photomerge
or
more recently you have to go into Guided mode and Photomerge is one of the headers. - https://www.bhphotovideo.com/explora/photography/tips-and-solutions/photo-editing-tutorial-macro-photography-focus-stacking
- https://www.youtube.com/watch?v=hITfNZqxMmk
- https://www.youtube.com/watch?v=XvfLFADeaCk
- https://digital-photography-school.com/how-to-focus-stack-macro-images-using-photoshop/Adrian Hedges
February 2018